课程链接:three.js journey
其他几篇:
- Notes 1 - Basics
- Notes 2 - Classic Techniques
- Notes 3 - Advanced Techniques Part1
- Notes 5 - Advanced Techniques Part3
Raycaster and Mouse Events
Raycaster is used to detect if there is a wall in front of the player, or test if the laser gun hit something, test if something is currently under the mouse to simulate mouse events, etc.
/**
 * Raycaster
 */
const raycaster = new THREE.Raycaster()
const rayOrigin = new THREE.Vector3(- 3, 0, 0)
const rayDirection = new THREE.Vector3(10, 0, 0)
rayDirection.normalize() // make sure vector is 1 unit long

raycaster.set(rayOrigin, rayDirection)

// get objects intersect
const intersect = raycaster.intersectObject(object2)
console.log(intersect) // result is also array with only 1 object

const intersects = raycaster.intersectObjects([object1, object2, object3])
console.log(intersects)
If we need to test on each frame, we need to test in tick function like:
const clock = new THREE.Clock()

const tick = () =>
{
    // ...

    // Cast a ray
    const rayOrigin = new THREE.Vector3(- 3, 0, 0)
    const rayDirection = new THREE.Vector3(1, 0, 0)
    rayDirection.normalize()

    raycaster.set(rayOrigin, rayDirection)

    const objectsToTest = [object1, object2, object3]
    const intersects = raycaster.intersectObjects(objectsToTest)
    console.log(intersects)

    // ...
}
Handle Hovering
cast a ray from camera in the mouse’s direction
/**
 * Mouse
 */
// simulate a mouse
const mouse = new THREE.Vector2()

window.addEventListener('mousemove', (event) =>
{
    mouse.x = event.clientX / sizes.width * 2 - 1
    mouse.y = - (event.clientY / sizes.height) * 2 + 1

    console.log(mouse)
})


const tick = () =>
{
    // ...
	// set camera from ouse
    raycaster.setFromCamera(mouse, camera)

    const objectsToTest = [object1, object2, object3]
    const intersects = raycaster.intersectObjects(objectsToTest)

    for(const intersect of intersects)
    {
        intersect.object.material.color.set('#0000ff')
    }

    for(const object of objectsToTest)
    {
        if(!intersects.find(intersect => intersect.object === object))
        {
            object.material.color.set('#ff0000')
        }
    }

    // ...
}
mouseenter, mouseleave events need to detect by yourself like: you have to keep the currently intersecting objects, and when any of them are not in intersects, then it’s mouseleave event; when there are new intersects, then it’s mouseenter.
const tick = () =>
{
    // ...
    raycaster.setFromCamera(mouse, camera)
    const objectsToTest = [object1, object2, object3]
    const intersects = raycaster.intersectObjects(objectsToTest)

    if(intersects.length)
    {
        if(!currentIntersect)
        {
            console.log('mouse enter')
        }

        currentIntersect = intersects[0]
    }
    else
    {
        if(currentIntersect)
        {
            console.log('mouse leave')
        }

        currentIntersect = null
    }

    // ...
}
Handle Click
window.addEventListener('click', () =>
{
    if(currentIntersect)
    {
        switch(currentIntersect.object)
        {
            case object1:
                console.log('click on object 1')
                break

            case object2:
                console.log('click on object 2')
                break

            case object3:
                console.log('click on object 3')
                break
        }
    }
})
Cast on Loaded Model
cast again gltf.scene.
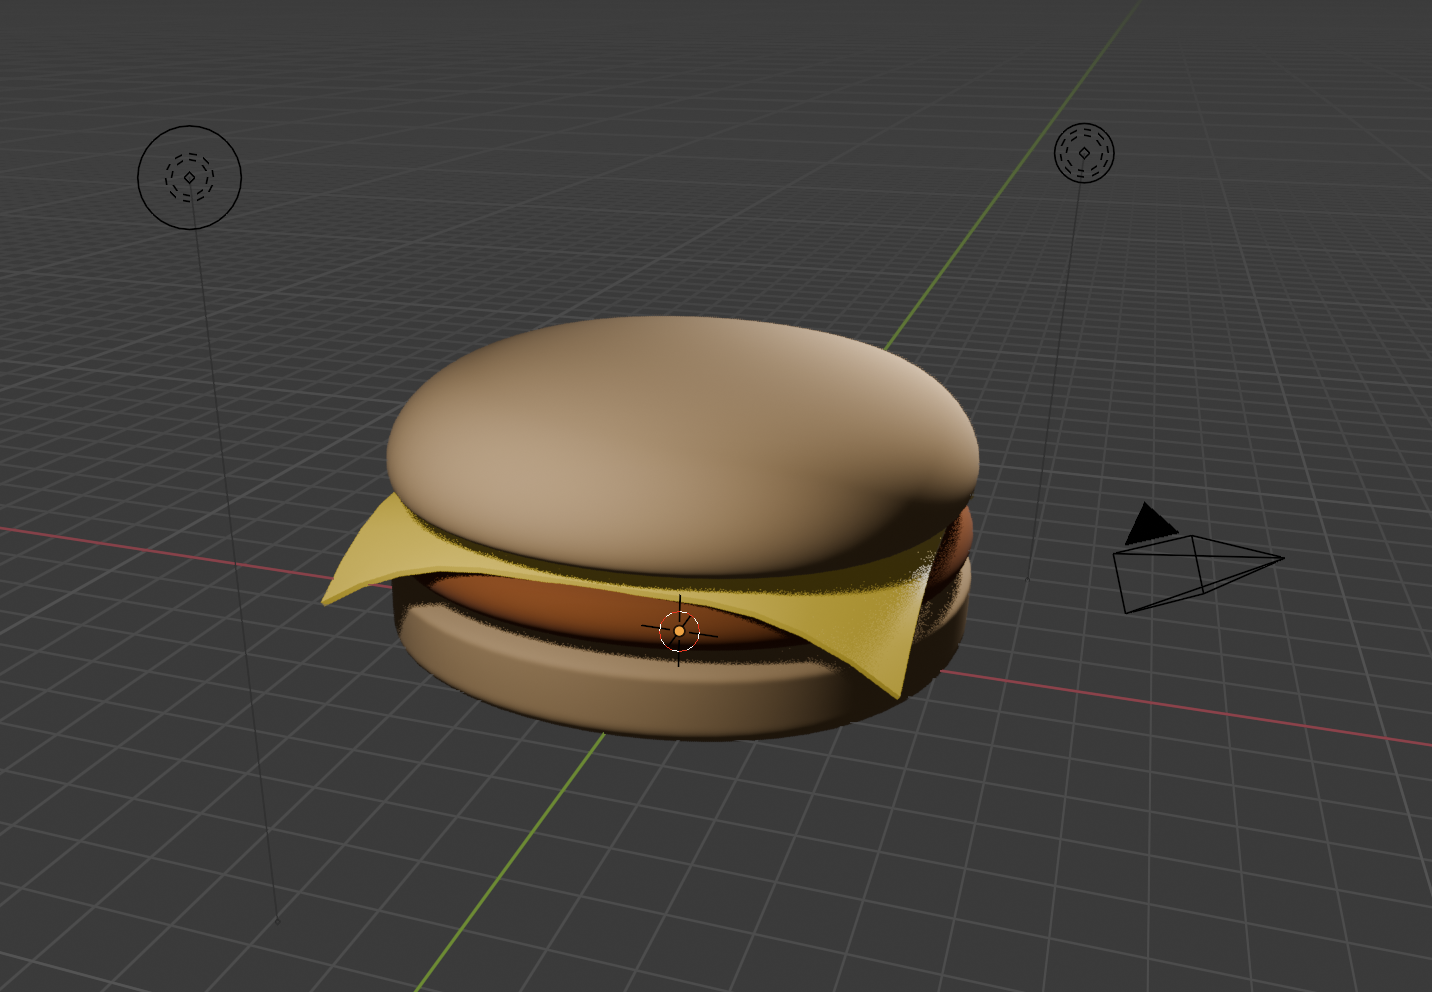
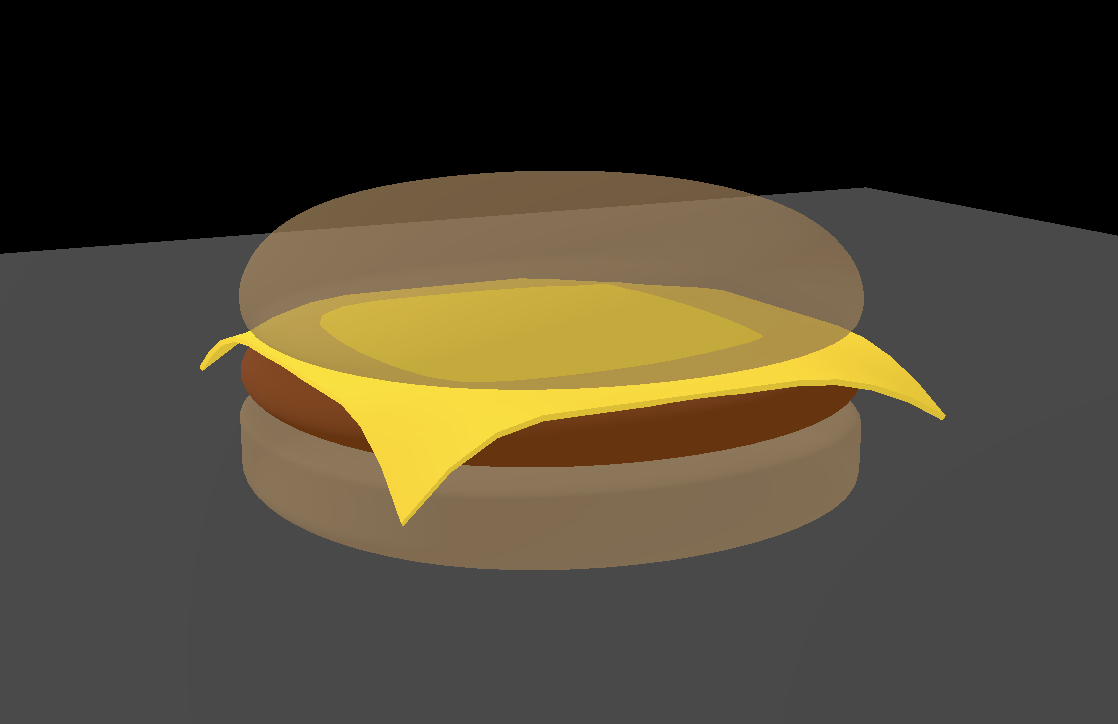
Blender Beginner
Make custom models by hand using Blender.
Blender shortcuts: Blender 2.8 - Shortcuts - Google 文件
完全手把手带着做一个汉堡,我跟做的版本:
Environment Map
It’s those images surrounding the scene that can be used as a background, but also directly on the objects as reflection and lighting. Environment maps can be used to light up the whole scene in a very realistic manner.
Cube Texture Environment Map
composed of 6 images (faces of cube)
/**
 * Loaders
 */
// ...
const cubeTextureLoader = new THREE.CubeTextureLoader()

/**
 * Environment map
 */
// LDR cube texture
// the order is corresponding to `positive x`, `negative x`, `positive y`, `negative y`, `positive z`, and `negative z`
const environmentMap = cubeTextureLoader.load([
    '/environmentMaps/0/px.png',
    '/environmentMaps/0/nx.png',
    '/environmentMaps/0/py.png',
    '/environmentMaps/0/ny.png',
    '/environmentMaps/0/pz.png',
    '/environmentMaps/0/nz.png'
])

// set the background
scene.background = environmentMap
// use the environment map to light up model
scene.environment = environmentMap
Environment Properties
/**
 * Environment map
 */
// high intersity make it more light
scene.environmentIntensity = 4

// blur the background
scene.backgroundBlurriness = 0.2

// if the environment resolution is quite low or if you want the user to focus on the object in the foreground
// this control background brightness
scene.backgroundIntensity = 5

// control rotation
scene.backgroundRotation.x = 1
scene.environmentRotation.x = 2
HDRI Equirectangular Environment Map
HDR stands for “High Dynamic Range” (we often say “HDRI” , where the “I” stands for “Image”). It’s only one picture containing kind of a 360° view of the surrounding. The proper name for such projection is “equirectangular”. An HDR environment map doesn’t have to be equirectangular, but it’s often the case and Three.js (like most 3D software packages, libraries and engines) supports this projection.
much heavier to load and render than cube texture.
import { RGBELoader } from 'three/examples/jsm/loaders/RGBELoader.js'

/**
 * Loaders
 */
// ...
const rgbeLoader = new RGBELoader()

/ HDR (RGBE) equirectangular
rgbeLoader.load('/environmentMaps/0/2k.hdr', (environmentMap) =>
{
	environmentMap.mapping = THREE.EquirectangularReflectionMapping

    scene.background = environmentMap
    scene.environment = environmentMap
})
Generate an Environment Map
online environment map resources: HDRIs • Poly Haven
- using Blender, first draw the scene you want, and then render the scene and it can be saved as HDR.
- AI generated, like NVIDIA Canvas
- or Skybox Lab
Ground Projected Environment Map
// Ground projected skybox
import { GroundedSkybox } from 'three/addons/objects/GroundedSkybox.js'
rgbeLoader.load('/environmentMaps/2/2k.hdr', (environmentMap) =>
{
    environmentMap.mapping = THREE.EquirectangularReflectionMapping
    scene.environment = environmentMap

	// Skybox
    const skybox = new GroundedSkybox(environmentMap, 15, 70
	// skybox.material.wireframe = true
    skybox.position.y = 15 // move it down can make the object looks like it's on the ground
    scene.add(skybox)
})
Real-time Environment Map
create a dynamic environment map where we render the scene on each frame and use the result as the environment directly in Three.js.
main idea is that we are going to render the scene inside our own environment map texture and that it’s going to be a cube texture. To render into a cube texture, we need to use a WebGLCubeRenderTarget. Render targets are textures in which we can store renders of any scene.
/**
 * Real time environment map
 */
// Base environment map
const environmentMap = textureLoader.load('/environmentMaps/blockadesLabsSkybox/interior_views_cozy_wood_cabin_with_cauldron_and_p.jpg')
environmentMap.mapping = THREE.EquirectangularReflectionMapping
environmentMap.colorSpace = THREE.SRGBColorSpace

scene.background = environmentMap


// Cube render target
// 256 is the resolution
const cubeRenderTarget = new THREE.WebGLCubeRenderTarget(256, {
	type: THREE.HalfFloatType // or THREE.FloatType
	// format: THREE.RGBAFormat,
	// generateMipmaps: true,
	// minFilter: THREE.LinearMipmapLinearFilter
})

scene.environment = cubeRenderTarget.texture;

// since we need to render one texture for each face of a cube, we need
// render 6 square textures. can use CubeCamera

// Cube camera
const cubeCamera = new THREE.CubeCamera(0.1, 100, cubeRenderTarget)
cubeCamera.layers.set(1); // it should only see holyDonut by using layer

// at last update on tick

const tick = () =>
{
    // ...

    // Real time environment map
    if(holyDonut)
    {
        holyDonut.rotation.x = Math.sin(elapsedTime) * 2

        cubeCamera.update(renderer, scene)
    }

    // ...
}
The above implementation make the objects are blocking the light. To fix it, one can use Layers. Layers work like categories, setting layers on a camera, the camera will only see objects matching the same layers.
As an example, if a camera has its layers set to 1 and 2, it’ll only see objects that have layers set to 1 or 2.
By default, all objects and camera layers are set to 0.
Real-time environmenrt maps will be a log in terms of performance. So need to use smallest possible resoliton on the render target.