课程链接:three.js journey
其他几篇:
- Notes 1 - Basics
- Notes 3 - Advanced Techniques Part1
- Notes 4 - Advanced Techniques Part2
- Notes 5 - Advanced Techniques Part3
Lights
basically walk through all lights types to demonstrate them one by one and feel what they can do.
- AmbientLight
- applies omnidirectional(全方向的) lighting on all geometries of the scene.
- good to simulate light bouncing around the scene
- cannot be used to cast shadows as it does not have a direction
- DirectionalLight
- coming from same direction, parallel, like the Sun
- can cast shadows
- HemisphereLight
- similar to the AmbientLight but with a different color fading from the sky to the color coming from the ground.
- Faces facing the sky will be lit by one color while another color will lit faces facing the ground.
- cannot be used to cast shadows
- PointLight
- almost like a lighter, light source is infinitely small, and the light spreads uniformly in every direction
- can cast shadows
- RectAreaLight
- like a big rectangle lights you can see on the photoshoot set, big plane lighting
- can be used to simulate light sources such as bright windows or strip lighting
- only works with
MeshStandardMaterialandMeshPhysicalMaterial - cannot be used to cast shadows
- SpotLight
- like flashlight, 手电筒🔦聚光灯效果
- gets emitted from a single point in one direction, along a cone that increases in size the further from the light it gets
- can cast shadows
Performance
Add as few lights as possible and try to use the lights that cost less
- Minimal cost:
- AmbientLight
- HemisphereLight
- Moderate cost:
- DirectionalLight
- PointLight
- High cost:
- SpotLight
- RectAreaLight
Another technique is called baking, idea it that you can bake the light into the texture. So that you can have the effects on the texture as loaded, but it can’t be changed when you change the scene.
Helpers
helpers for positioning and orienting the lights:
- HemisphereLightHelper
- DirectionalLightHelper
- PointLightHelper
- RectAreaLightHelper
- SpotLightHelper
Shadows
The back of the objects are indeed in the dark, and this is called the core shadow. What we are missing is the drop shadow, where objects create shadows on the other objects.
When you do one render, Three.js will first do a render for each light supposed to cast shadows. Those renders will simulate what the light sees as if it was a camera. During these lights renders, MeshDepthMaterial replaces all meshes materials.
The results are stored as textures and named shadow maps.
You won’t see those shadow maps directly, but they are used on every material supposed to receive shadows and projected on the geometry. Here’s an excellent example of what the directional light and the spotlight see: https://threejs.org/examples/webgl_shadowmap_viewer.html
简单复述就是 three.js 会当作 camera 使用 MeshDepthMaterial 为 base 保存每一种 light 的模拟出的结果 shadow map,然后当成 texture 渲染出来
Only 3 types of lights supports shadows:
const directionalLight = new THREE.DirectionalLight(0xffffff, 1.5)
directionalLight.castShadow = true; // to activate shadow
console.log(directionalLight.shadow); // can be accessed directly

// render size
directionalLight.shadow.mapSize.width = 1024
directionalLight.shadow.mapSize.height = 1024

// add camera helper to adjust near and far
directionalLight.shadow.camera.near = 1
directionalLight.shadow.camera.far = 6
const directionalLightCameraHelper = new THREE.CameraHelper(directionalLight.shadow.camera)
scene.add(directionalLightCameraHelper)

directionalLight.shadow.camera.top = 2
directionalLight.shadow.camera.right = 2
directionalLight.shadow.camera.bottom = - 2
directionalLight.shadow.camera.left = - 2

// make shadow blur on edges
directionalLight.shadow.radius = 10

// change shadow map algorithm
renderer.shadowMap.enabled = true
renderer.shadowMap.type = THREE.PCFSoftShadowMap
Shadow map optimisations
- render size
- default is 512x512, we can improve it by assign bigger size like 1024x1024 (but cost more)
- near and far
- same as camera’s near and far, can use CameraHelper to adjust the values
- amplitude
- camera’s amplitude
- The smaller the values, the more precise the shadow will be. But if it’s too small, the shadows will just be cropped
- blue with
radiusproperty - Shadow map algorithm
- THREE.BasicShadowMap: Very performant but lousy quality
- THREE.PCFShadowMap: Less performant but smoother edges (default)
- THREE.PCFSoftShadowMap: Less performant but even softer edges
- THREE.VSMShadowMap: Less performant, more constraints, can have unexpected results
Baking shadows, exactly like baking light into textures. But it’s static, if the object or the light moves, the shadow won’t. Alternative is to use a more simple shadow under the sphere and slightly above the plane. It’s less realistic but more dynamic.
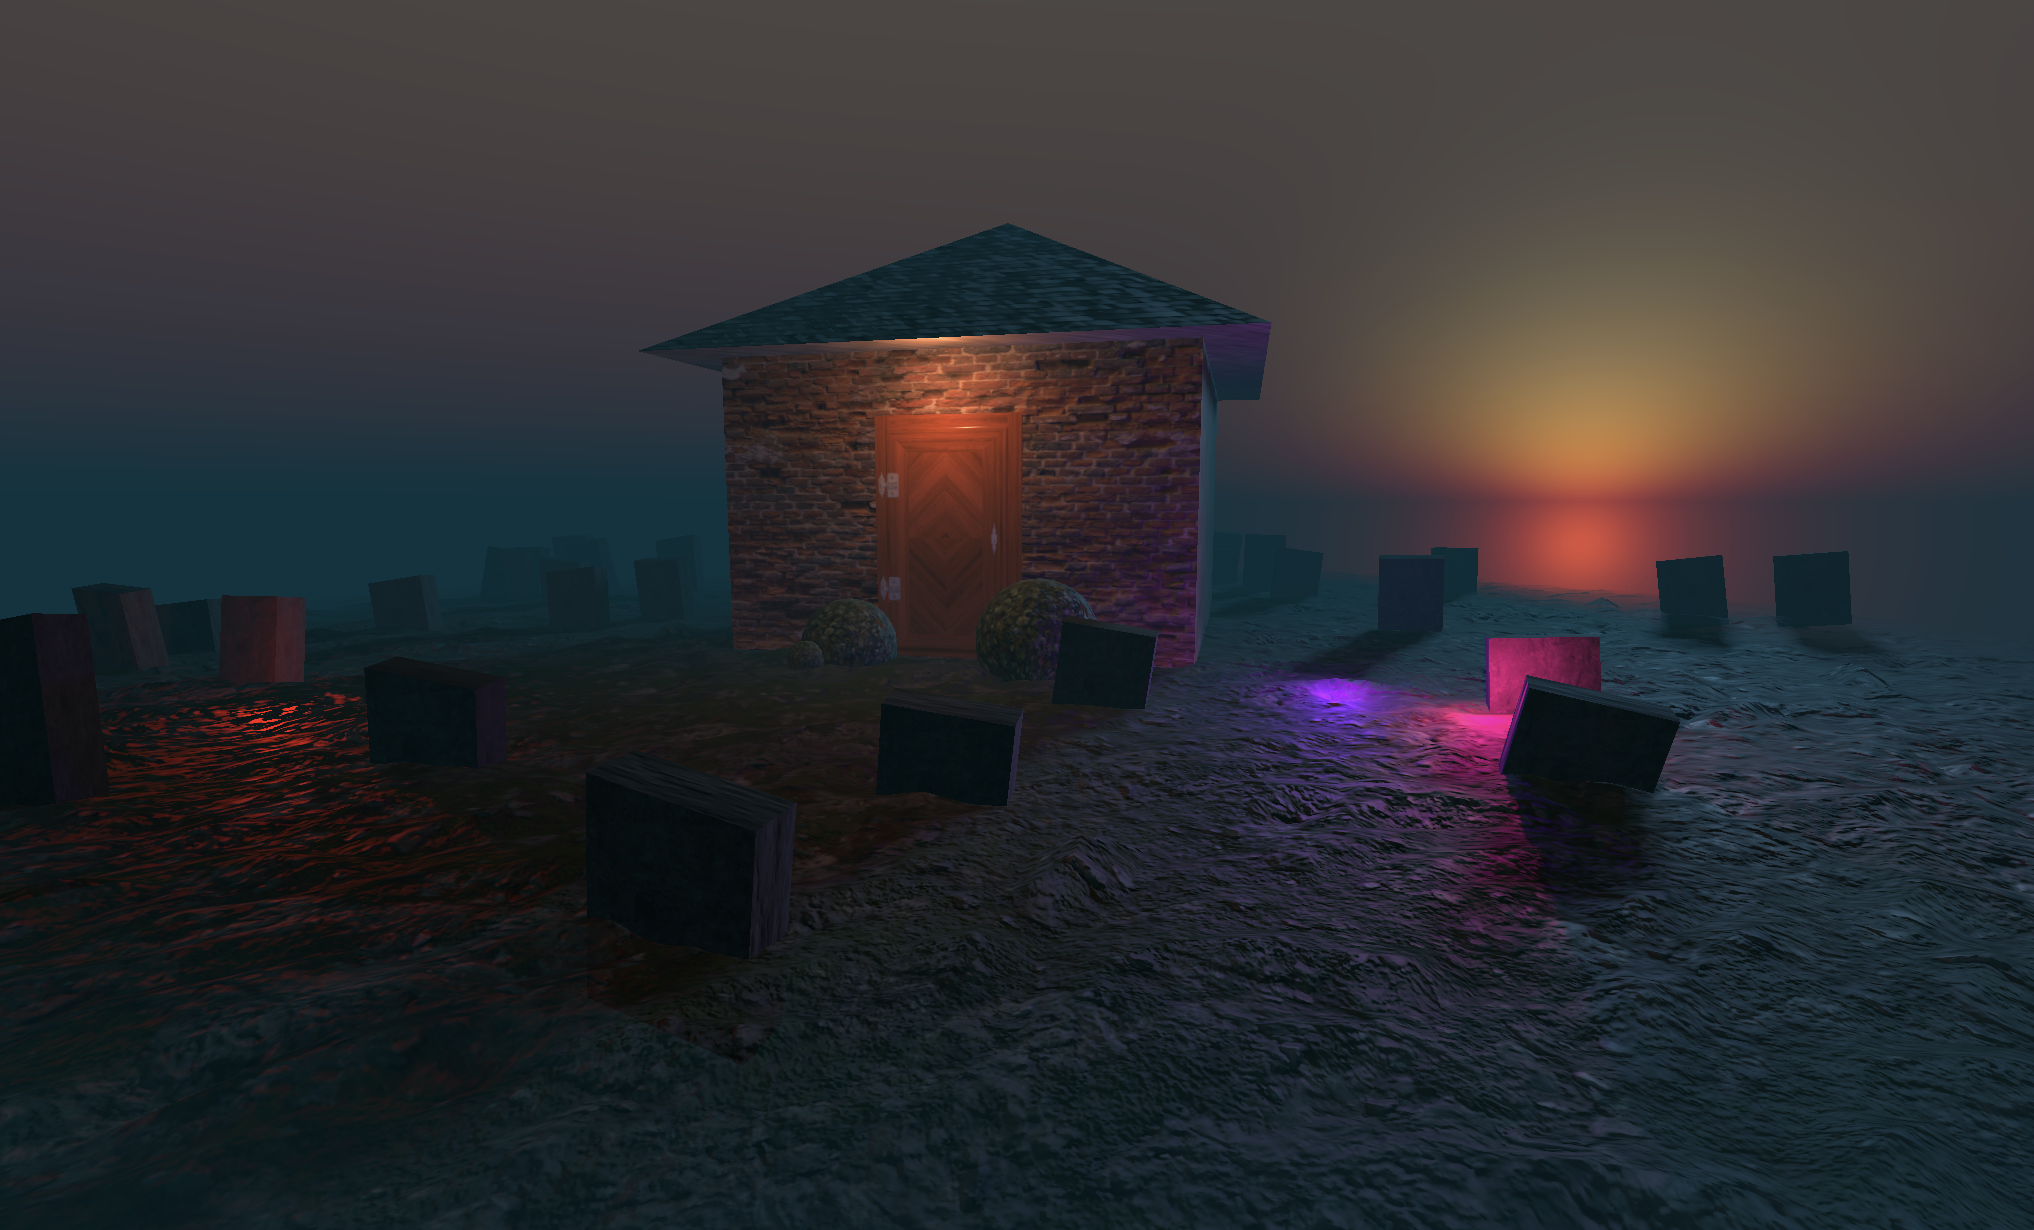
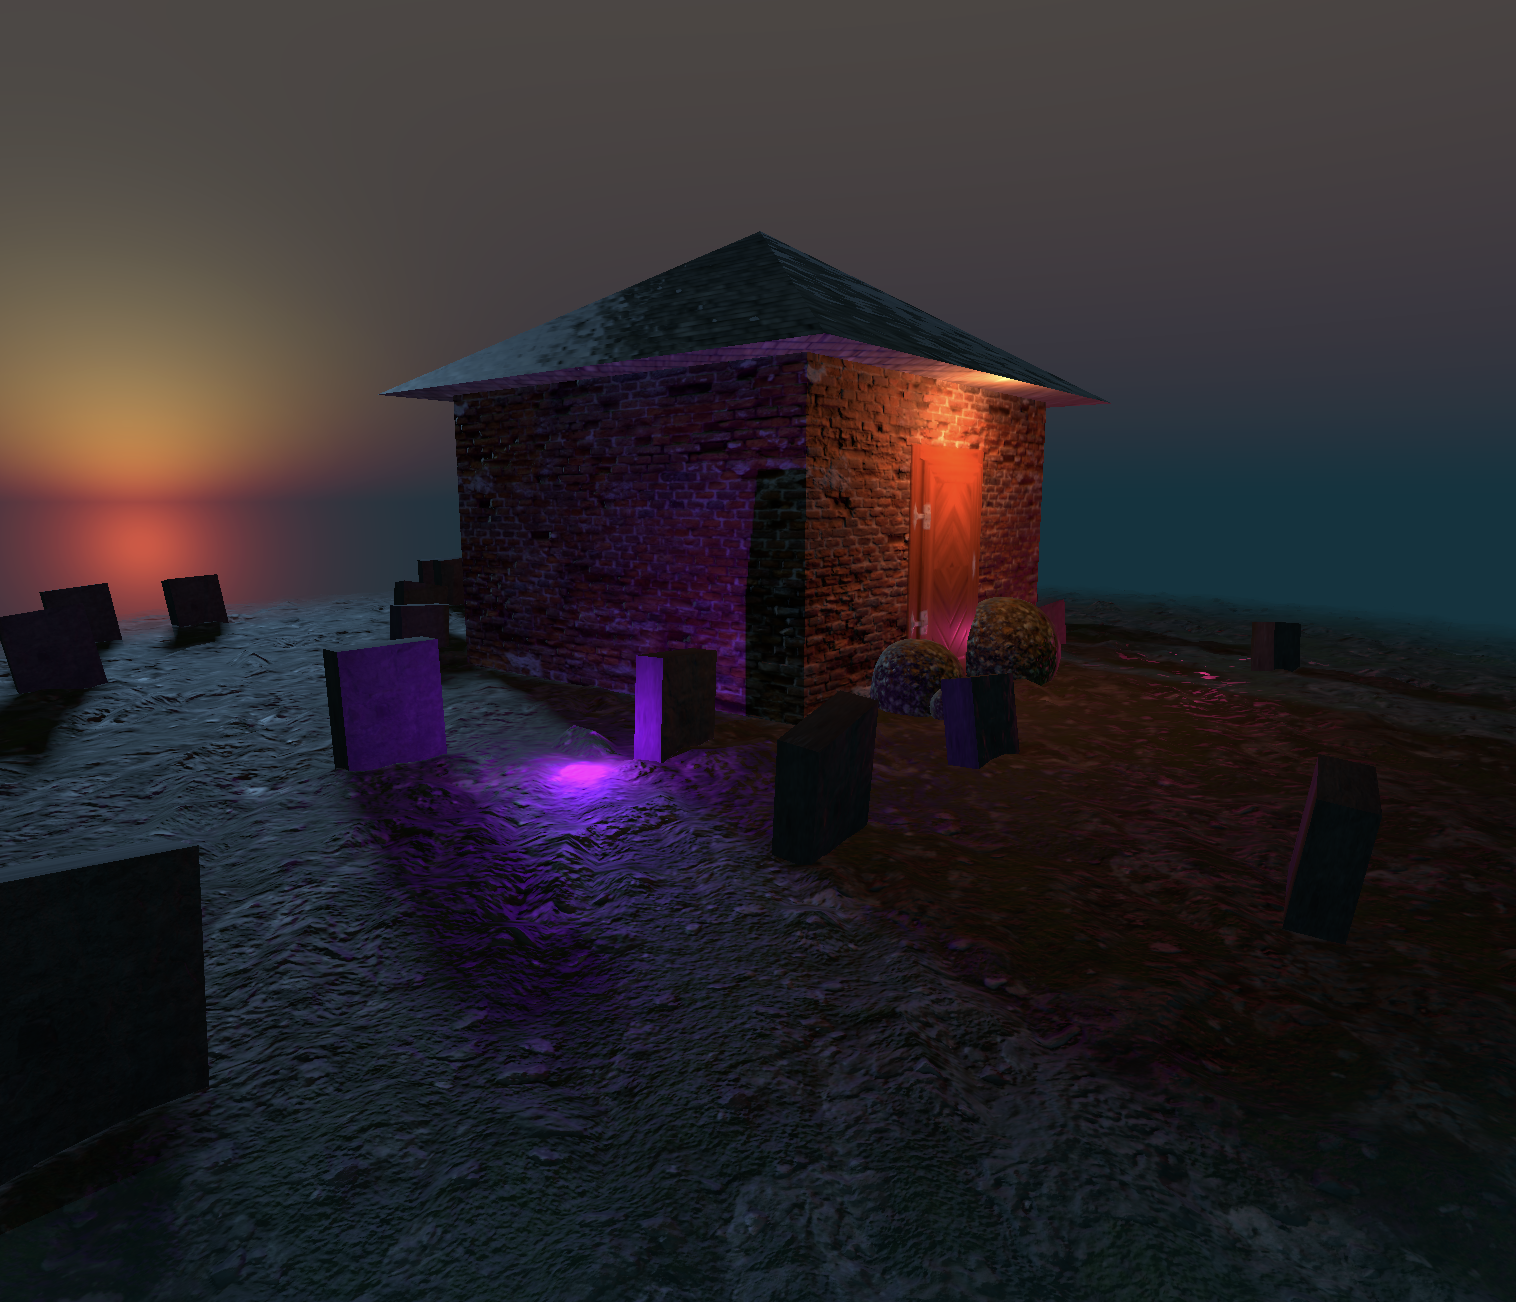
Haunted House
完全跟着一步一步做的 demo, code
Particles
popular and can be used to achieve various effects such as stars, smoke, rain, dust, fire, and many other things.
each particle is composed of a plane (two triangles) always facing the camera.
need BufferGeometry and PointsMaterial, we need to create a Points.
// Material
const particlesMaterial = new THREE.PointsMaterial({
    size: 0.02,
    sizeAttenuation: true
});

// Points
const particles = new THREE.Points(particlesGeometry, particlesMaterial)
scene.add(particles)
Custom geometry like space
// Geometry
const particlesGeometry = new THREE.BufferGeometry()
const count = 500

const positions = new Float32Array(count * 3) // Multiply by 3 because each position is composed of 3 values (x, y, z)

for(let i = 0; i < count * 3; i++) // Multiply by 3 for same reason
{
    positions[i] = (Math.random() - 0.5) * 10 // Math.random() - 0.5 to have a random value between -0.5 and +0.5
}

particlesGeometry.setAttribute('position', new THREE.BufferAttribute(positions, 3)) // Create the Three.js BufferAttribute and specify that each information is composed of 3 values


// particlesMaterial.alphaTest = 0.001
// particlesMaterial.depthTest = false
particlesMaterial.depthWrite = false
particlesMaterial.blending = THREE.AdditiveBlending

particlesMaterial.vertexColors = true
- alphaTest
- value between 0 and 1 that enables the WebGL to know when not to render the pixel according to that pixel’s transparency
- depthTest
- WebGL tests if what’s being drawn is closer than what’s already drawn
- depthWrite
- The depth of what’s being drawn is stored in what we call a depth buffer. Instead of not testing if the particle is closer than what’s in this depth buffer, we can tell the WebGL not to write particles in that depth buffer
- blending
- tell the WebGL not only to draw the pixel, but also to add the color of that pixel to the color of the pixel already drawn. That will have a saturation effect that can look amazing.
- apply different colors
make a galaxy by particles, code
